
How to grow Brussels Sprouts
You might not like the cold weather, but Brussels sprouts do! Brussels sprouts grow best in cool climates with cold, even the Australian frosty winters. This cool climate vegetable is the most cold-hardy of its brassica relatives which includes broccoli, cabbage and kale.
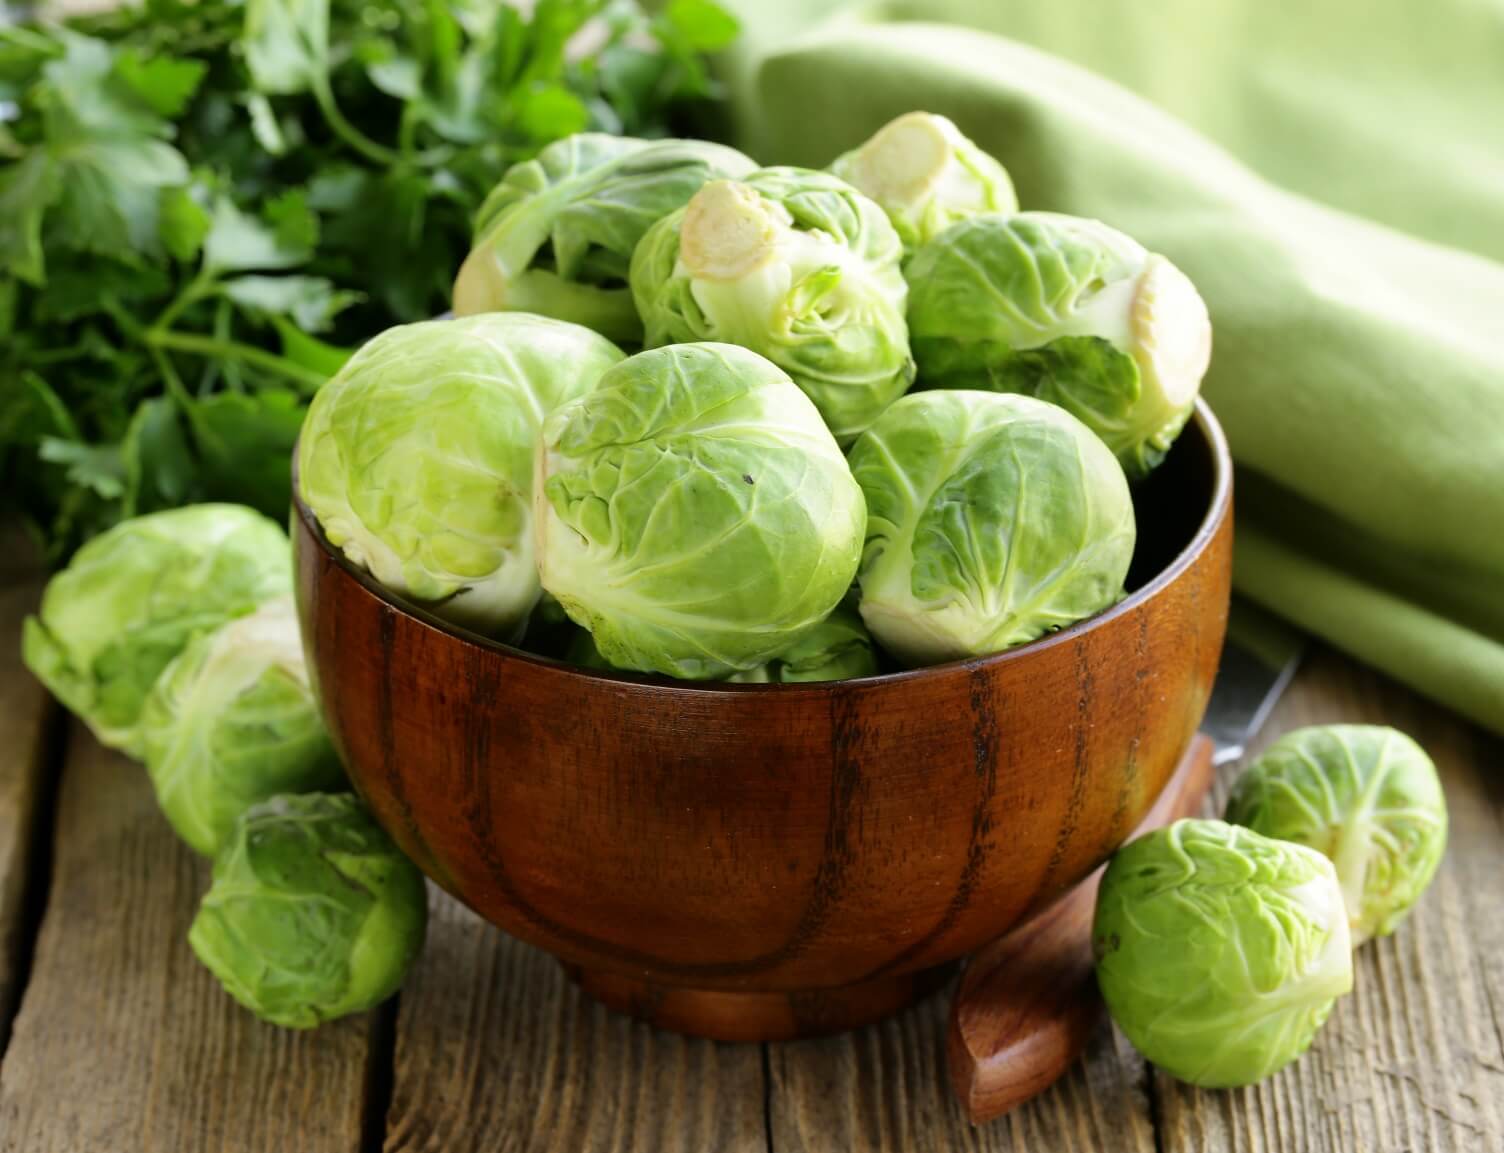
You might have grown up being served grey, mushy brussels sprouts - yuck! But grow your own and you’ll discover just how delicious they can be lightly stir-fried, roasted or even thinly sliced raw in salads.
Top 4 steps to growing brussels sprouts
- Sow seeds or plant seedlings in mid to late summer for a winter harvest
- Cold weather, including frosts will produce the tastiest sprouts.
- Remove the lower leaves from each plant as the sprouts begin to form.
- Harvest brussels sprouts when the heads are still tightly formed.
Shopping List
- Brussels sprout seeds or seedlings
- If growing from seeds, a Scotts Osmocote Seed & Cutting Potting Mix
- Scotts Osmocote Compost Premium Soil Improver
- If growing in pots, a Scotts Osmocote potting mix
- Garden trowel
- Mulch
- Wildlife safe crop protection netting
Prepare
Brussels sprouts grow well in full sun to part shade spot and they’ll tolerate a heavy soil. As they are top heavy when loaded with sprouts choose a spot that’s protected from strong winds.
Growing Brussel sprouts from seed
Brussels sprout seeds need to be sown in mid to late summer because the plants will need 100-160 days of growing before they are ready for harvest depending on the variety.
Sow seeds 7-10mm deep into punnets filled with Scotts Osmocote Seed & Cutting Potting Mix - plant 6-8 seeds per punnet - thinning out the weakest seedlings once they’ve all sprouted. Once the seedlings are about 15cm tall transplant them into your garden or pot allowing 60cm between seedlings.
Growing Brussel sprouts from seedlings
Plant brussels sprout seedlings in a full sun spot, into soil that’s been enriched with Scotts Osmocote Compost Premium Soil Improver mixed through the top 10-15cm of soil before planting.
Planting brussel sprouts in the garden
Plant seedlings into prepared soil, allow 60cm between seedlings and up to 1 metre between rows - depending on the variety.
Protect young seedlings from slugs and snails by sprinkling around Defender Snail & Slug Pellets. To protect young seedlings from the caterpillar of the cabbage moth (Plutella xylostella) and small cabbage white butterfly (Pieris rapae) use wildlife safe insect exclusion netting.
Lightly mulch the soil around plants after planting with an open mulch to retain moisture.
How to grow Brussel sprouts in pots
Brussels sprouts can be grown in pots or planters - choose something that is at least 50cm wide and the same deep. If you’re limited with space look for some of the more compact growing varieties of brussels sprouts that can be planted closer together.
Fill your pot or planter with Scotts Osmocote Plus Organics Tomato, Vegetable & Herb Potting Mix ready for planting. Lightly mulch the soil around plants after planting with an open mulch to retain moisture.
Harvesting your Brussel sprouts
As the Brussel sprouts form along the stem of the plant, remove any leaves between sprouts.
Harvest the sprouts closest to the ground first - snap them off or use a sharp knife to remove.
Brussel sprouts pests and diseases
Look out for the following pests and diseases attacking brussels sprout plants:
- Slugs and Snails - most likely to cause significant damage to young seedlings. Protect young plants by setting beer traps (saucers filled with beer) amongst seedlings or use Defender Snail & Slug Pellets.
- Caterpillars - the white flying adult cabbage moth (Plutella xylostella) and small cabbage white butterfly (Pieris rapae) they lay their eggs onto brussels sprouts (and other brassica crops) and the small green caterpillars feed on the leaves. To control these pests; remove the caterpillars by hand regularly, use insect exclusion netting over your crops to keep the flying moths/butterflies out or spray infested plants with Defender Snail & Slug Pellets.
- Aphids - aphids tend can attack the growing shoots of young brussels sprout plants. Remove some of the lower leaves to improve light and air circulation around the plants. Spray aphid infestations with an insecticide if needed.
☀️ HOW TO GROW BRASSICAS (BRUSSELS SPROUTS) IN WESTERN AUSTRALIA CONDITIONS
Cabbage, kale, broccoli, cauliflower, bok choy, turnip and Brussels sprouts are all Brassicas - that is, members of the mustard family Brassicaceae. As cool to mild season crops, all can be planted in Autumn in WA. Find a spot in full sun with at least 6 hours direct sunlight per day. Brassicas are easily damaged, so choose a spot with protection from strong winds.
Brassicas demand a rich, well-drained soil. Dig in plenty of mature compost and manure before planting and incorporate it the top 30cm. Use Baileys Soil Improver Plus or Baileys Clay & Compost for sandy soils. Both incorporate composted organics and chicken manure. Brassicas are heavy feeders so incorporate a handful of organic based fertiliser such as Soil Matters Garden per square metre into your planting soil.


